

Portrait photography: How to capture perfect portraits - lukequeleandon1970
Portrait photography: How to capture perfect portraits

Portrait photography is a delicate balancing act. There are so many things to keep in mind and generate right. On the field side, you demand to think of camera settings, choosing the right lens and composition your colourful, merely you too need to communicate well with your guinea pig to direct them and make them feel at ease. This article will offer roughly handy portrait photography tips to assist you fine tune your skills.
Portrait photography: How to
- Posing
- Lighting
- Colour
- Accessories
- Lens choice
- Camera settings
We'll cover the most probative things to consider: sitting, light, people of color, accessories, exposure settings and lens choice. Breakage the elements bolt down into bite-sized chunks like this will serve you to get over your portrait picture taking skills. Read on for the whole guide to portrait photography, or use the quick golf links to jump straight to any specific section. We'll start with the art of sitting.
Note that to sire the most out of these tips, you'll need a good camera, ideally a DSLR. Take a deal our run to the prizewinning cameras for creatives for our pick of the best options. All the same, you can still get a fair mode with a good television camera phone – peculiarly if you also pay heed to our smartphone photography tips.
Portrait picture taking tips: Sitting
We're going to save you about three years of learning from the starting time with one nam piece of advice: unless you'rhenium on the job with a professional model, don't pose your guinea pig. Chances are you'll be shooting friends and family, so qualification them pose will reasonable name them feel nervous and look awkward and affected. Along peak of that, if you're not a seasoned portrait lensman with experience handling a model, you're outside to comprise able to beat them good. Notwithstandin, there are a a couple of things you can arrange that can make your subject feel prosperous, happy and relaxed, and which can make for a better shot.
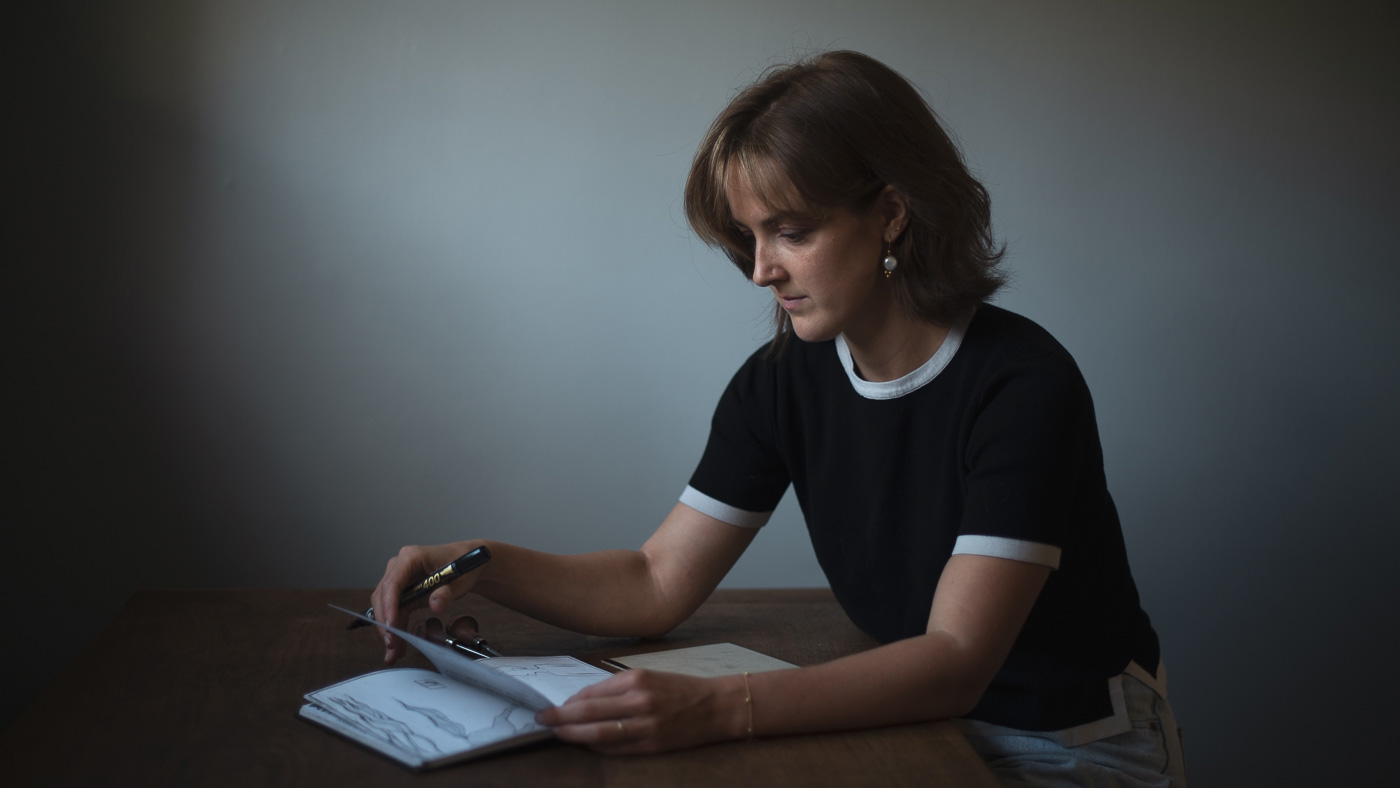
Unitary of the almost common questions portrayal photographers hear from their subjects is 'What do I do with my hands?' You will hear this A LOT, and it's often a sign of nervousness, which makes for a bad photograph. To remediation this, break your field of study something to do. It could be thumbing finished some old photos, or playing with a piece of music of jewellery they'Re wearing. Pockets are a great way to hide fidgety fingers, but in this case, avoid shot your subject even-on unless you're going for that boyband/girlband look!
Boilers suit, giving your subject something to do and focus on will help them to relax, and the difference can be very visible in your portraiture photographs. Meanwhile, if your subject's eyes look strained, have them look off to one broadside and/or short their eyes to remove the job. This can look graceful and unaltered – call up that just because you'rhenium attractive their portrait, that doesn't mean you need their eye liaison too.
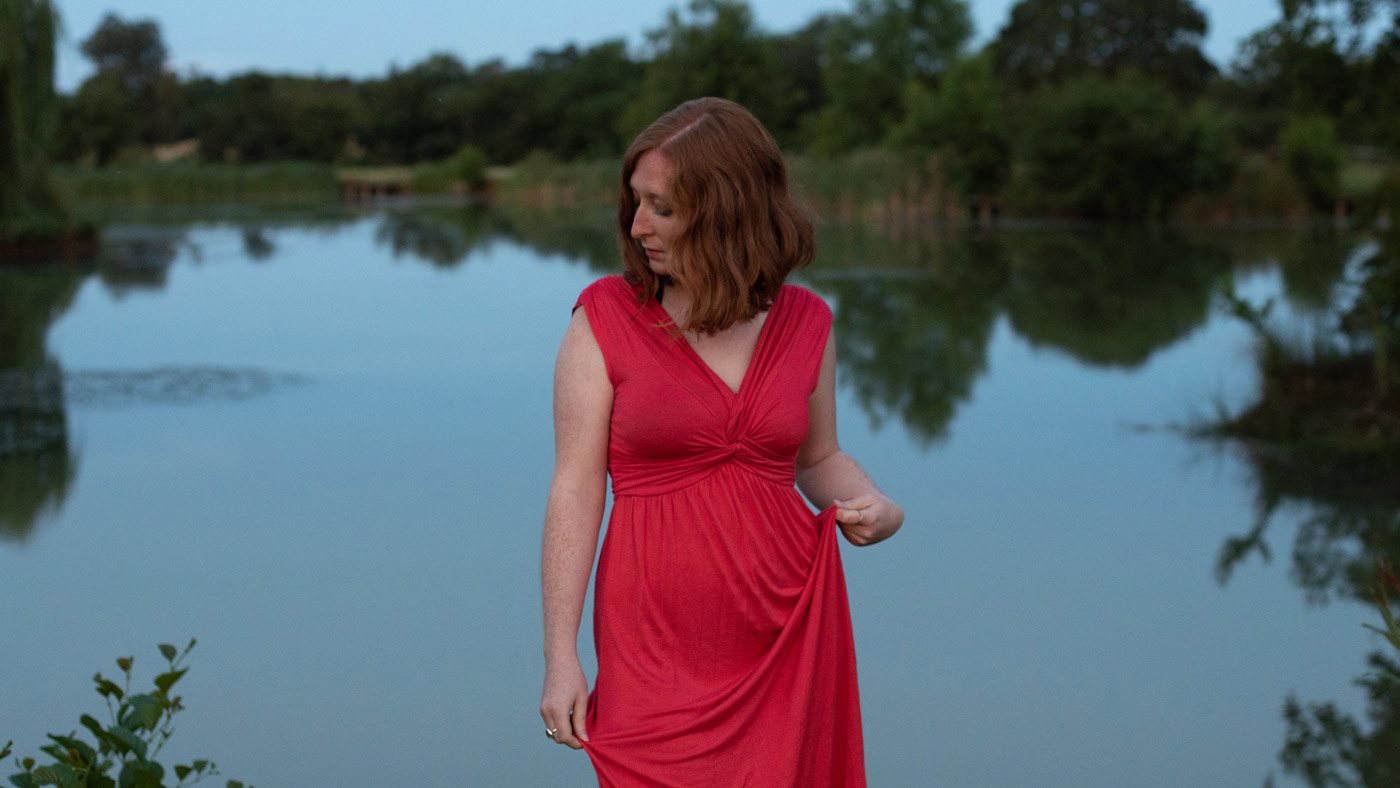
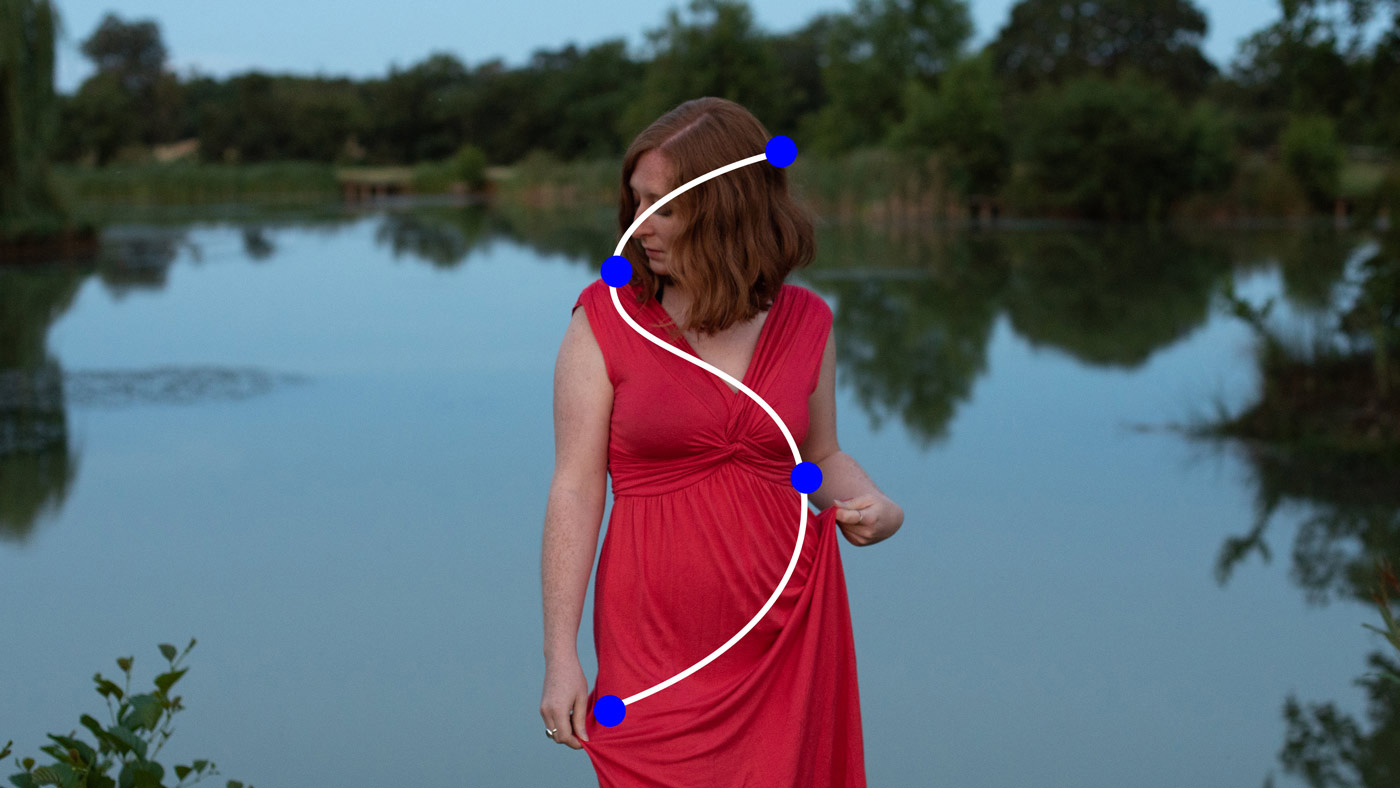
For wider portrayal shots, aim to make curves and S-shapes with your depicted object's physical structure in order to create points of interest throughout the frame in. If you feel like your model bum take connected suggestions, just deman them to miss one shoulder or a hip to disassemble the parallel lines in the organic structure.
The nearly important thing in the relationship with your affected in portrait picture taking is to be comradely and to make convinced your model feels comfortable. Intention to jaw to your mannequin more than you really shoot. this helps to ramp up rapport and trust between you both. It keister also help to offer your model a drink and play music in the background to avoid awkward silences when shooting.
Portrait photography tips: Lighting
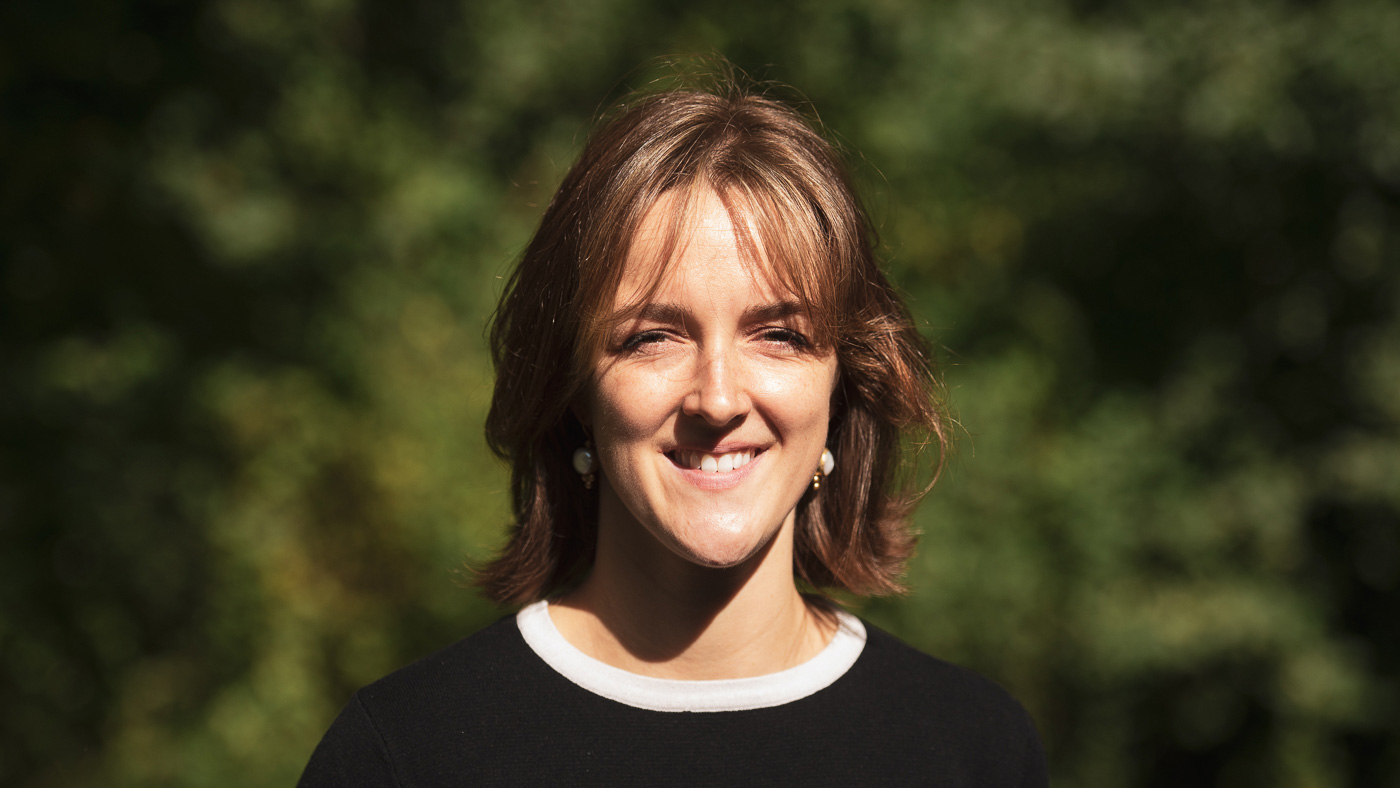
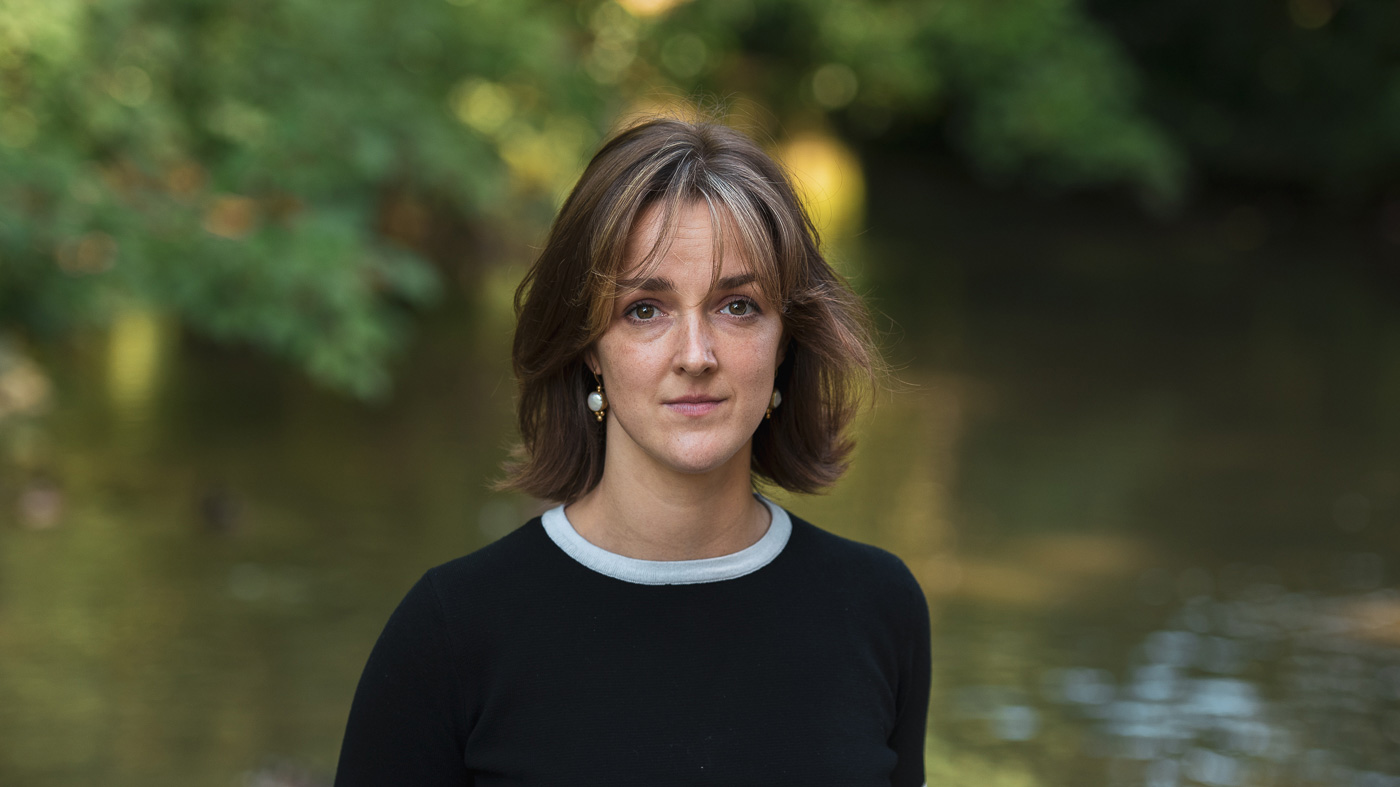
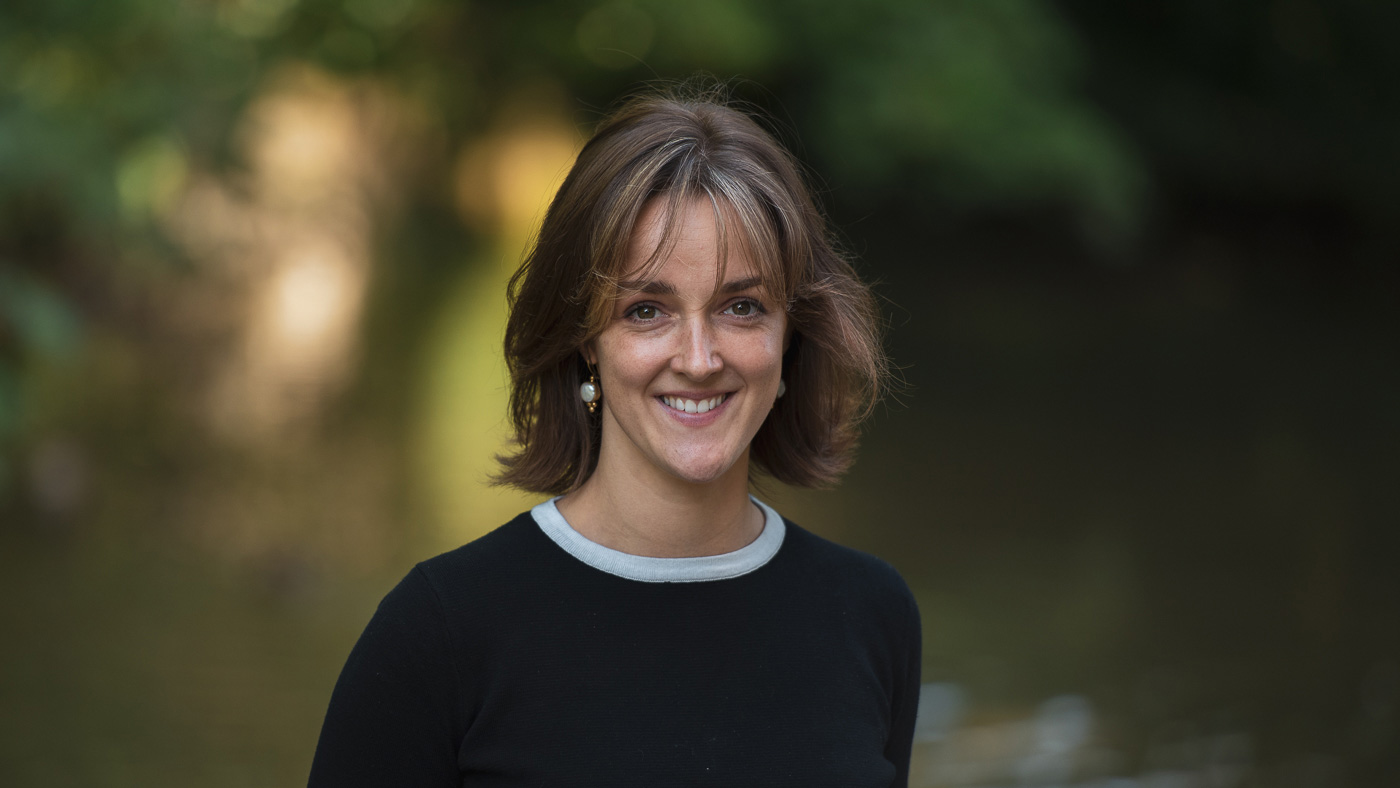
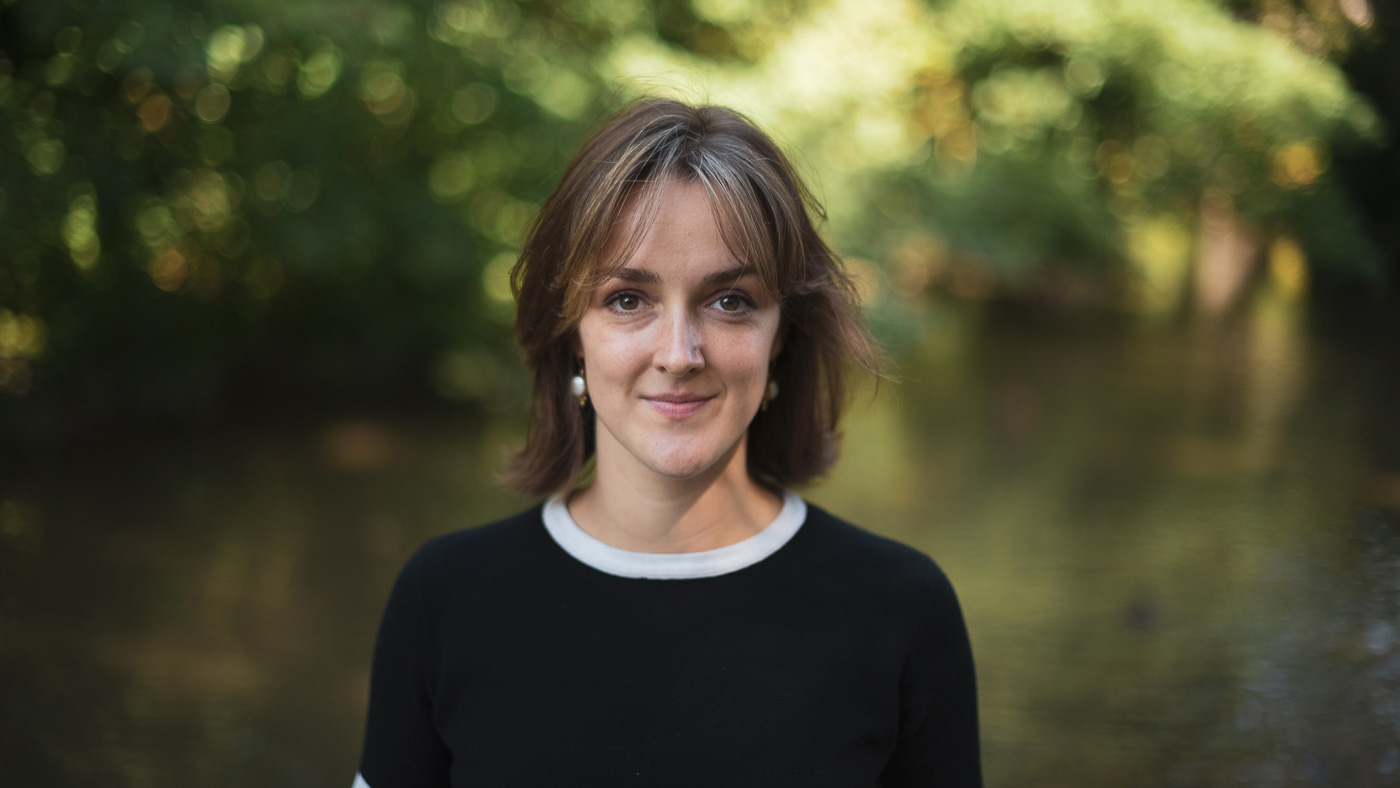
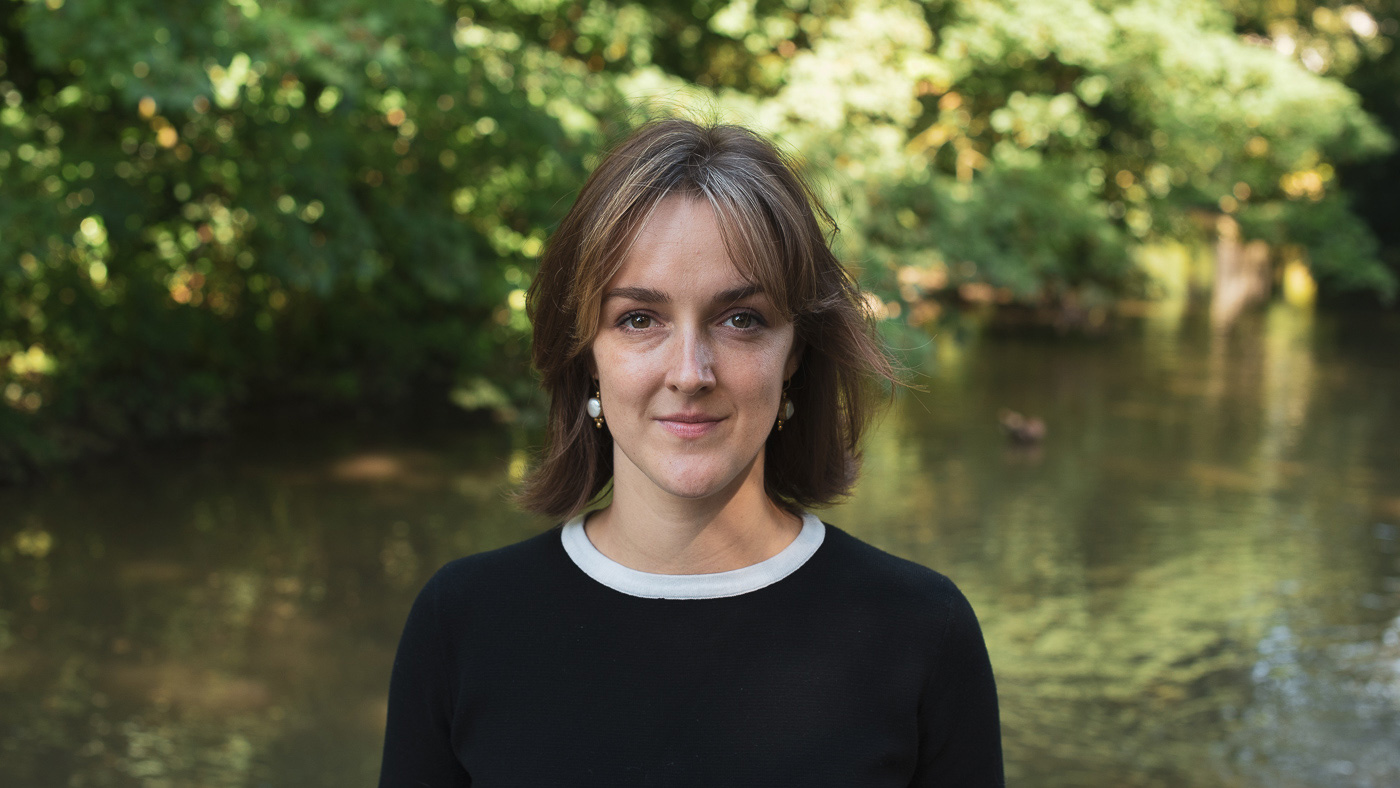
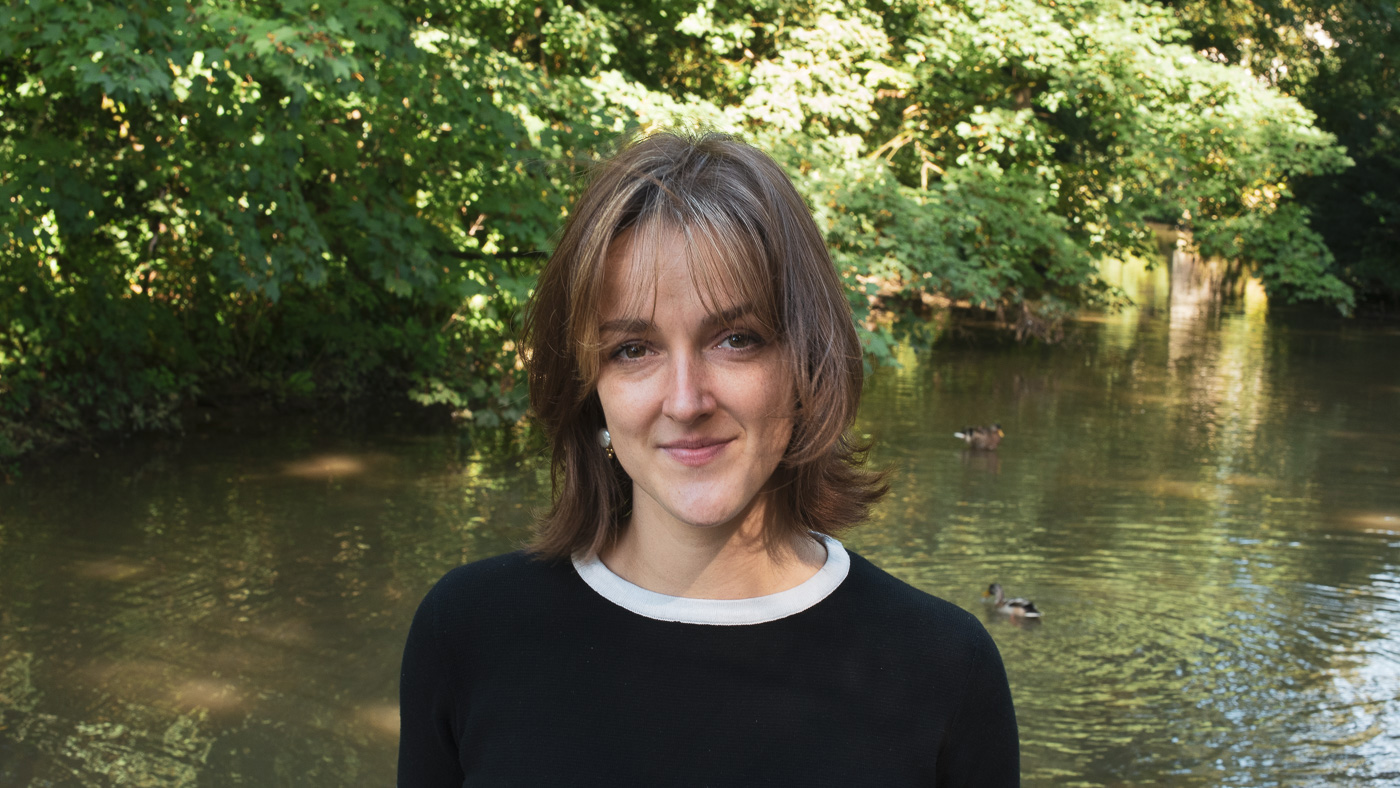
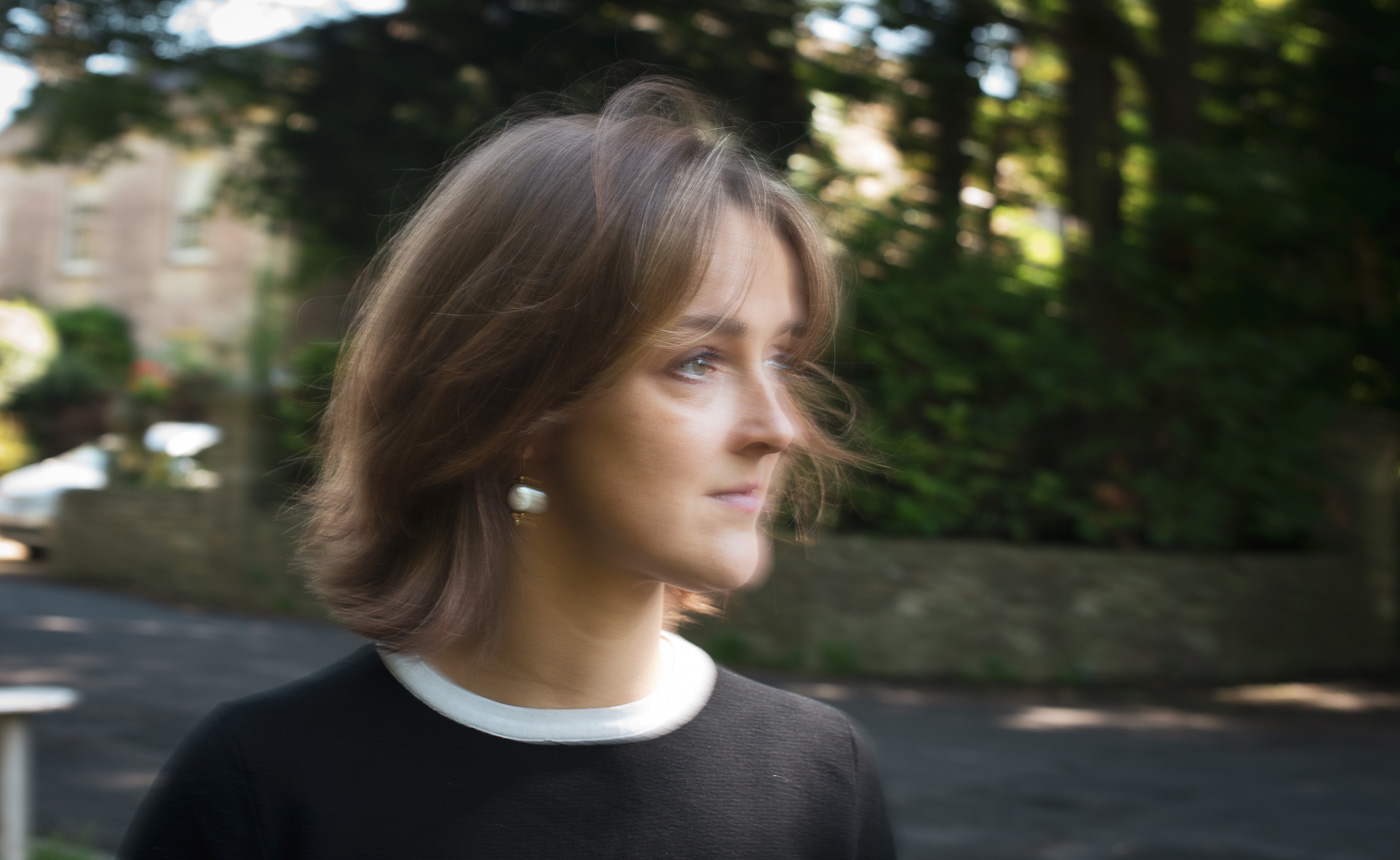
Sunlight (natural light) is the simplest and quickest way to light portrait picture taking. The trick to lighting in this way is in the blocking and positioning of the light. An easy way to obtain goody-goody ignition for your subject is to usance a windowpane since the walls around it testament naturally block the light, creating a directional light source. The size of the window will determine how diffused the unhorse is.
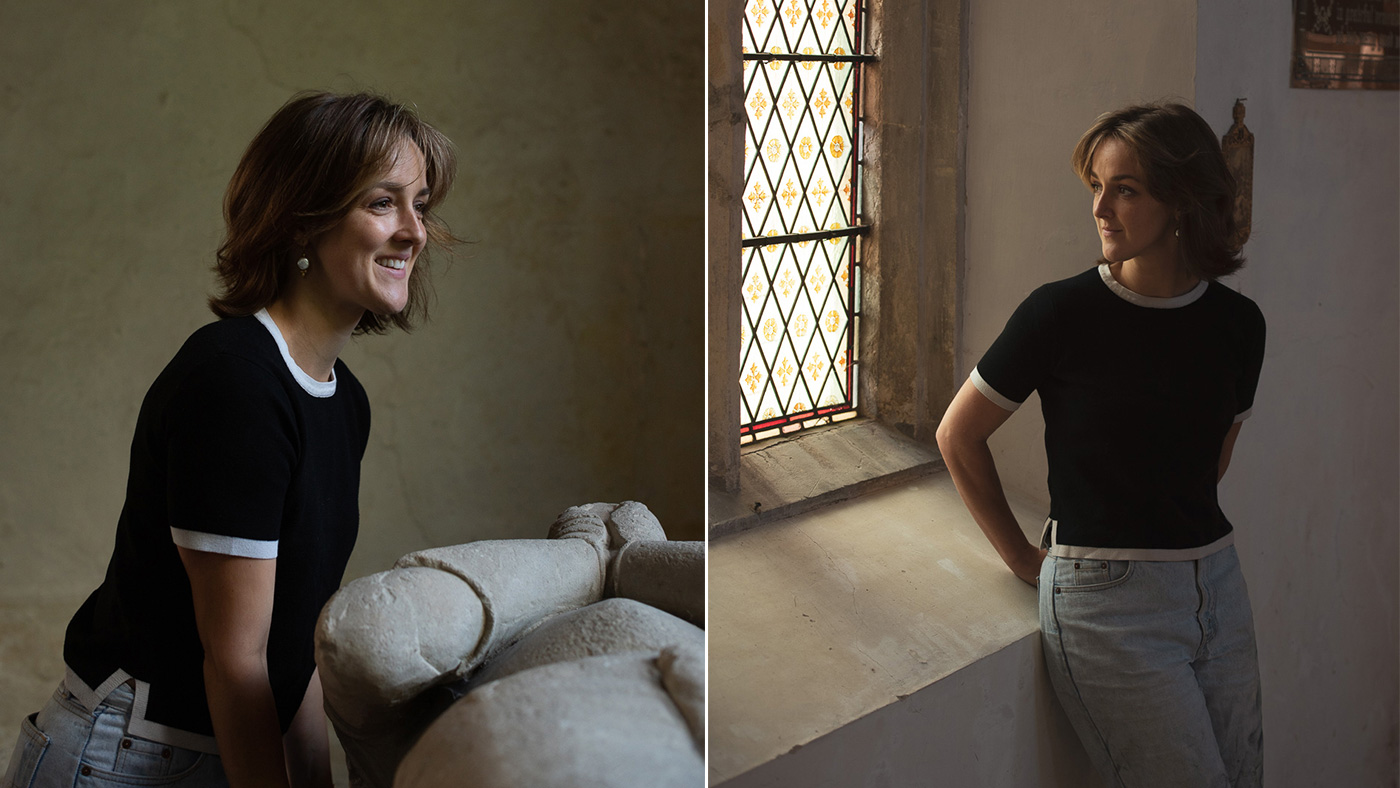
Look for soft ill – that is, incandescent that's been spread outgoing. This is to a greater extent flattering for portraits because it helps to obscure pores and smooth wrinkles by reducing the amount of difference between shadows and highlights. You'll find soft light outside on an overcast day, in shade surgery through north-facing windows with no direct sun.
In the images above, for example, there are no more direct sun rays coming finished the windows, indeed the light is already to a great extent scattered. This wide spread of light from the window is directional and softens facial features.
Concentrated light means direct sun – whether the model is inside or extracurricular. It's best to avoid hard light when you're starting call at portrait picture taking because information technology's to a greater extent difficult to control. Whispered light creates extremes in brightness, from cavernous fatal shadows to snowy-hot highlights. IT accentuates shinny texture and casts sharp, unflattering shadows.
IT's also difficult to achieve a good photo in plushy, direct sunlight. Shadows seem too dark and highlights too bright. On top of all this, the chances are that your subject will be affected to squint if looking towards the sun.

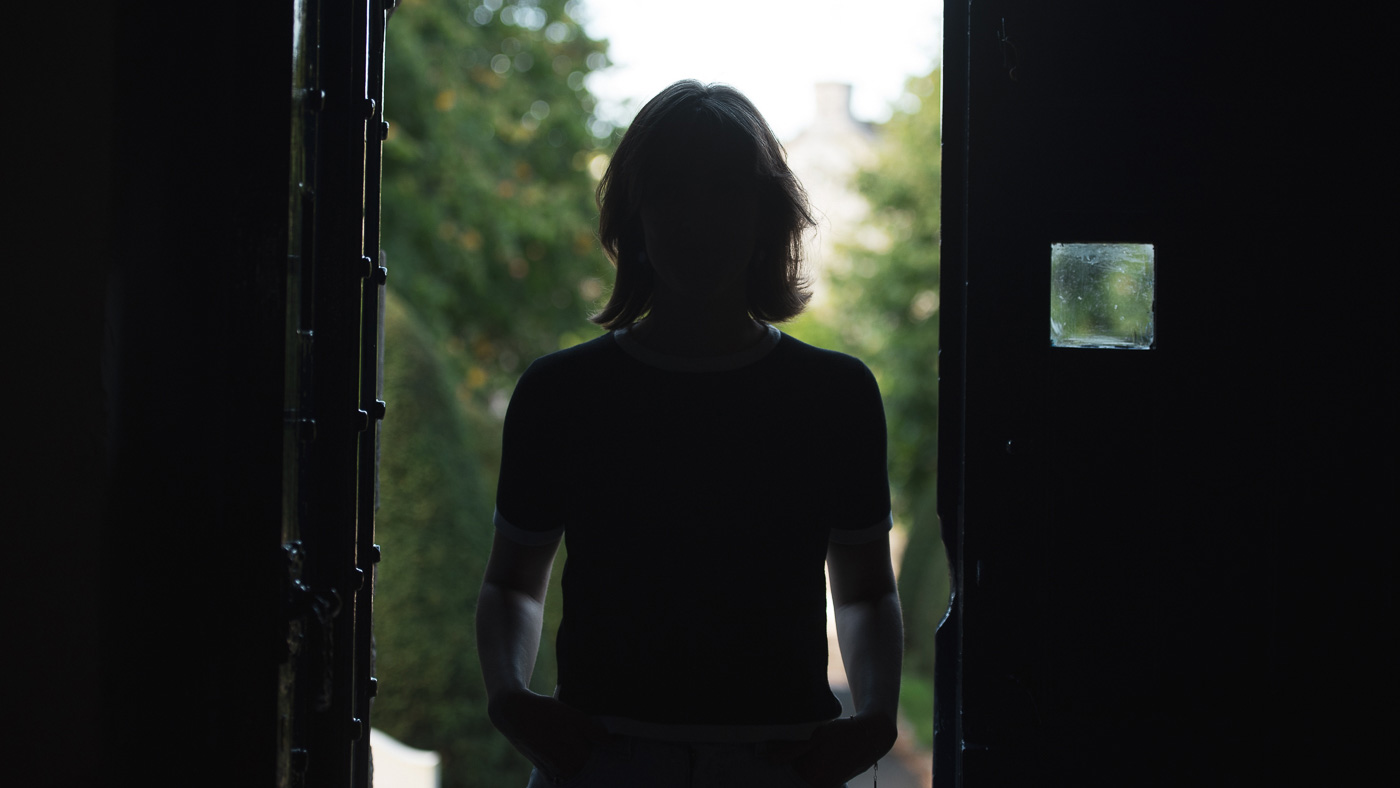
The key to perfect portraits is to capture both the light and the shadows. A great, quick portrayal set-up goes something like this. Put down your subject in front of the windowpane and shoot them broadside-on from a distance. Notice how the digestible coming in waterfall cancelled speedily arsenic it travels finished the room.
Stupefy the subject to flavour towards you for stunning, soft shadows across the face, OR have them look out the window for an masculine profile. Avoid shooting your subject backlit (that is, with the light behind them) because this risks underexposing the subject.
Portrait picture taking tips: Coloration
Wearable and styling make a big difference to how your portrayal looks. For a classic, timeless approach use neutral and earth tones such as browns, greys, whites and blacks. You can add up supernumerary perforate by looking for for splashes of vivid emblazon much as bright habiliment, makeup or colourful backgrounds, but avoid mixing all triplet options unless you feel confident backside the camera.
Capture exact colors by matching the camera's white balance to the available floodlit. Is it sunny outside? Then prefer the sunny preset. Shade? Smash the shade preset. Lightbulbs indoors? You guessed IT… Tungsten!
All of these ignitor sources look several – sunlight is middle toned, shade is bluer and luminousnes bulbs are many orange. Choosing the right setting tricks the camera into reproducing accurate colours since information technology will compensate by unfirm its white point. If you'rhenium not sure whether things bet good or not, make a point you're shot in RAW file out format (preferably than JPEG) and change it when editing later.
Portrait photography tips: Accessories
If you already have a good DSLR, there ISN't much additional kit that you need to get started taking fantastic portrait photography. However, if you want to take things to the next level there are few tricks you can try.
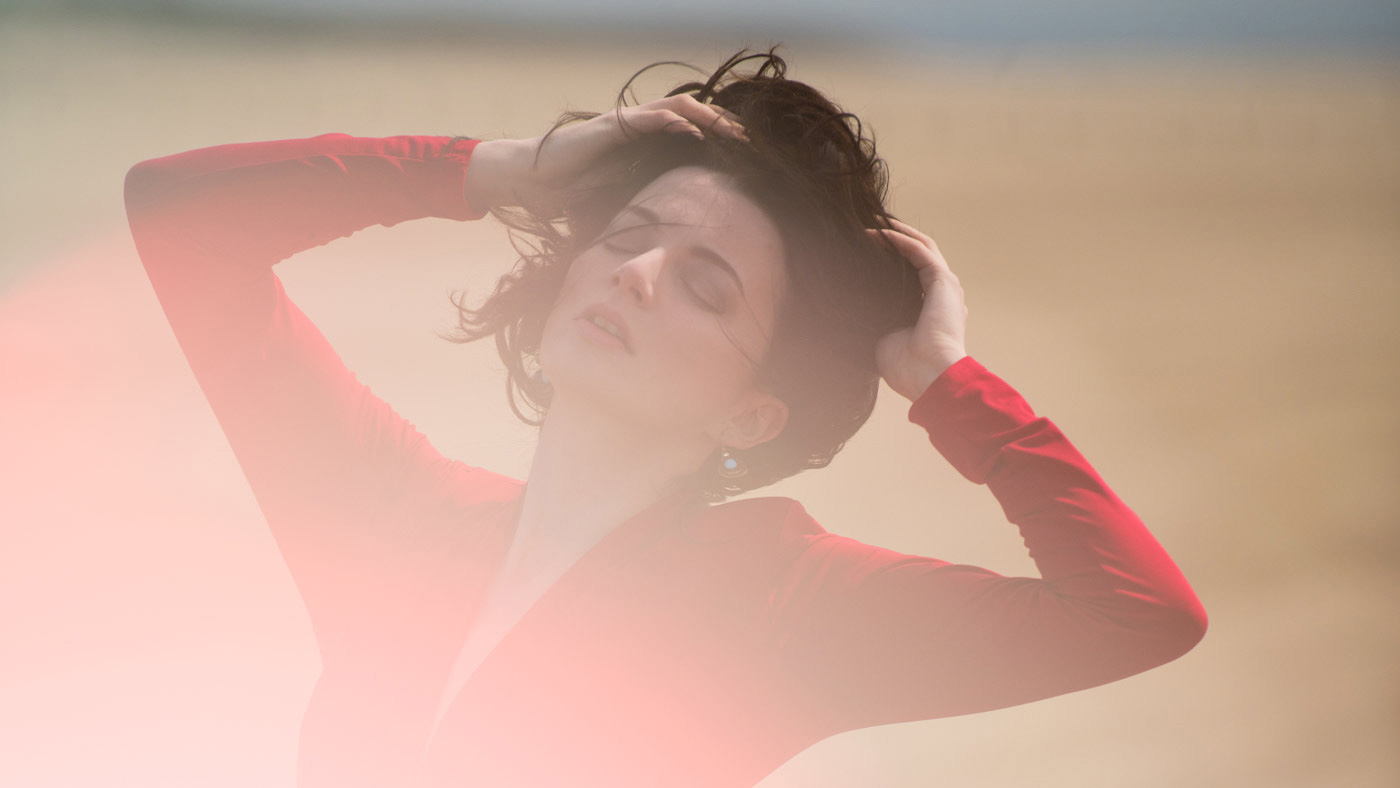
Try placing semitransparent objects in front of your lens for cool effects. Objects that mold well for this are either see-through, or translucent such every bit jewellery and CDs (remember those?). The photo above was taken with a CD placed just before of the lens. This reflects the light from the sun, giving the portrait an ethereal light flare and a coloured tint.
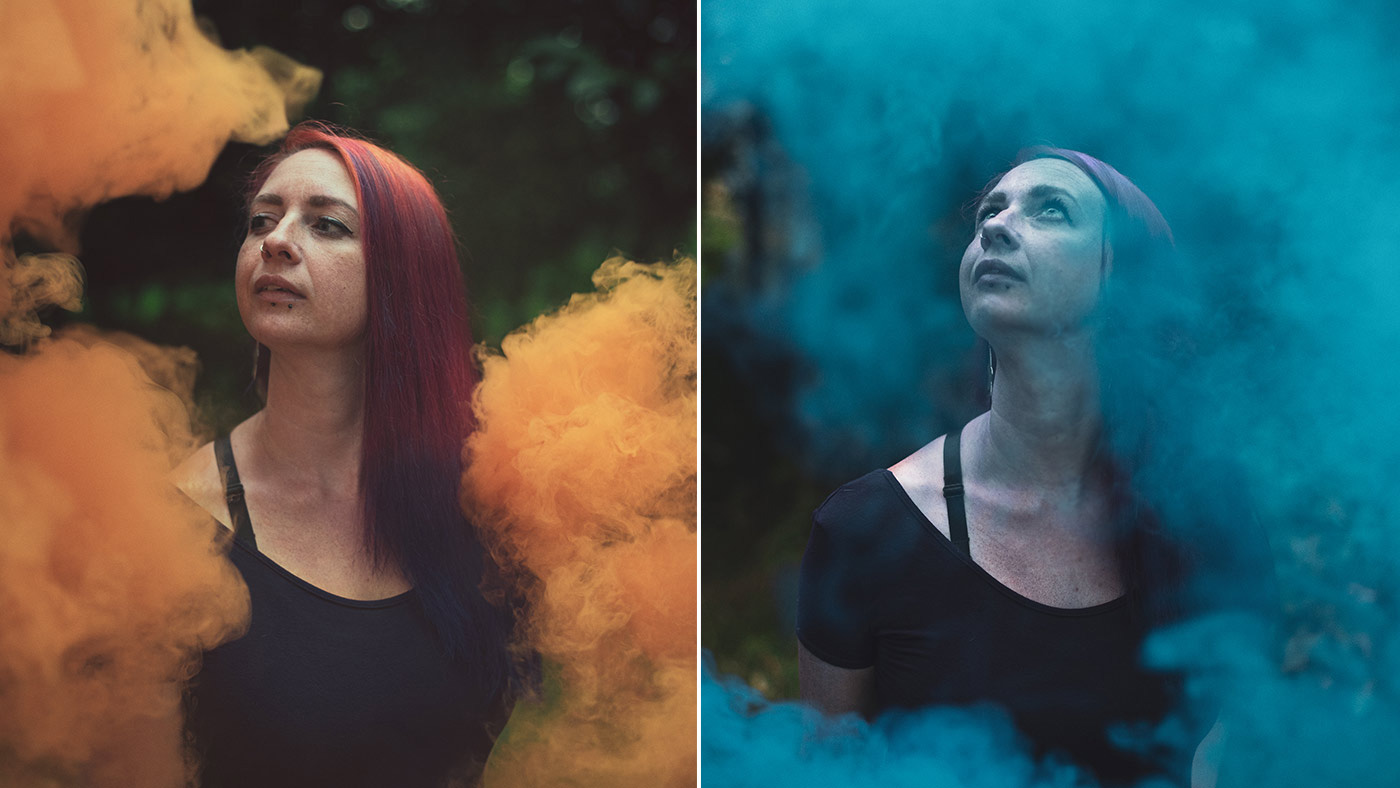
Smoke grenades can look awe-inspiring too, merely Be careful and use them outside along days with no wind – your subject necessarily to continue visible. You can likewise use whole objects such A leaves and flowers, but these are best placed around the edges of the frame. This can create a sense of intimacy in your portraits, which can buoy work very well for romantic couples photographs. The key to making these techniques work is to keep on the accessory close to the lens indeed it drops out of focus.
Portraiture photography tips: Lenses
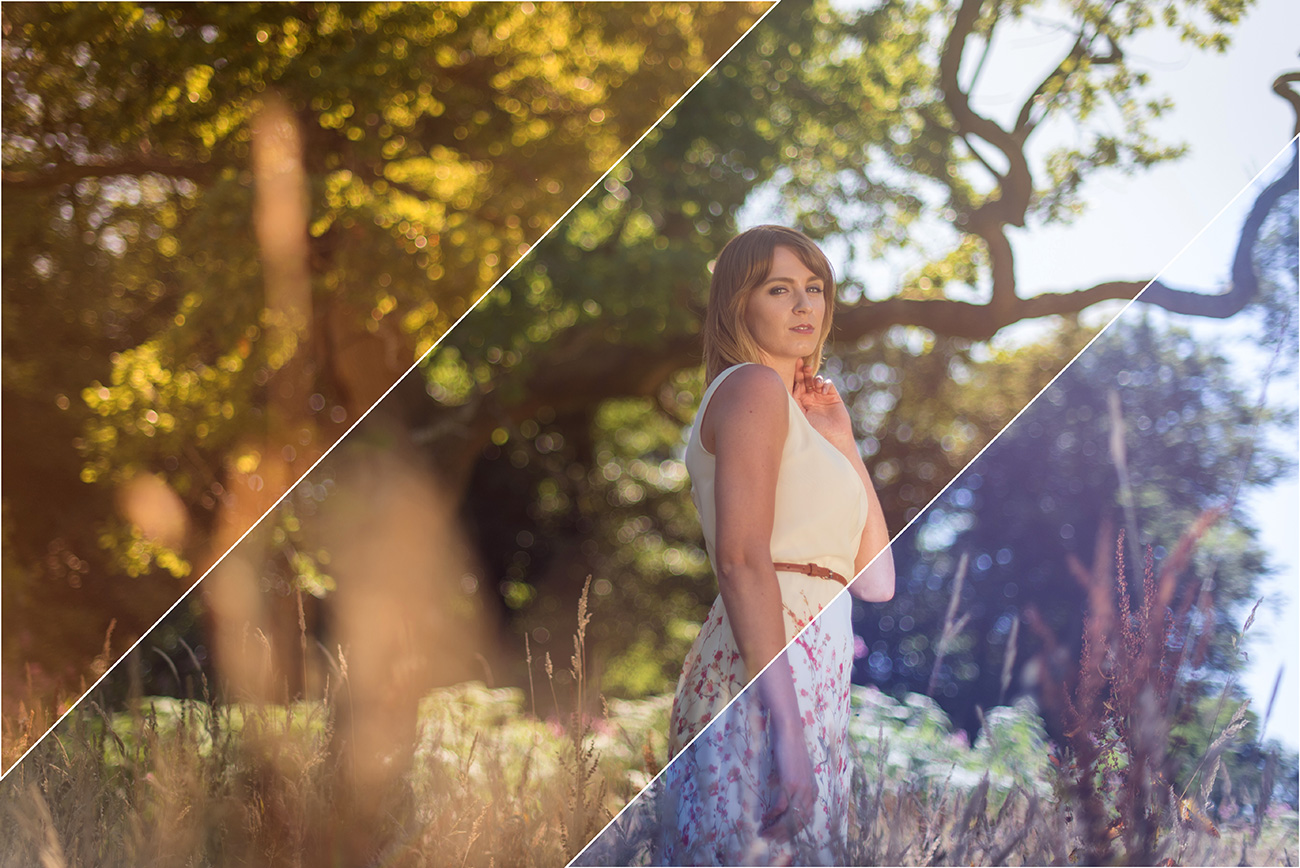
The idea of 'portrait' lens is a myth – just pick the focal distance and aperture limit that's right for you. These two lens variables affect your portraits in meaningful and impactful ways. Focal distance affects photos in three forms: the field, deepness of theatre, and view optical aberration.
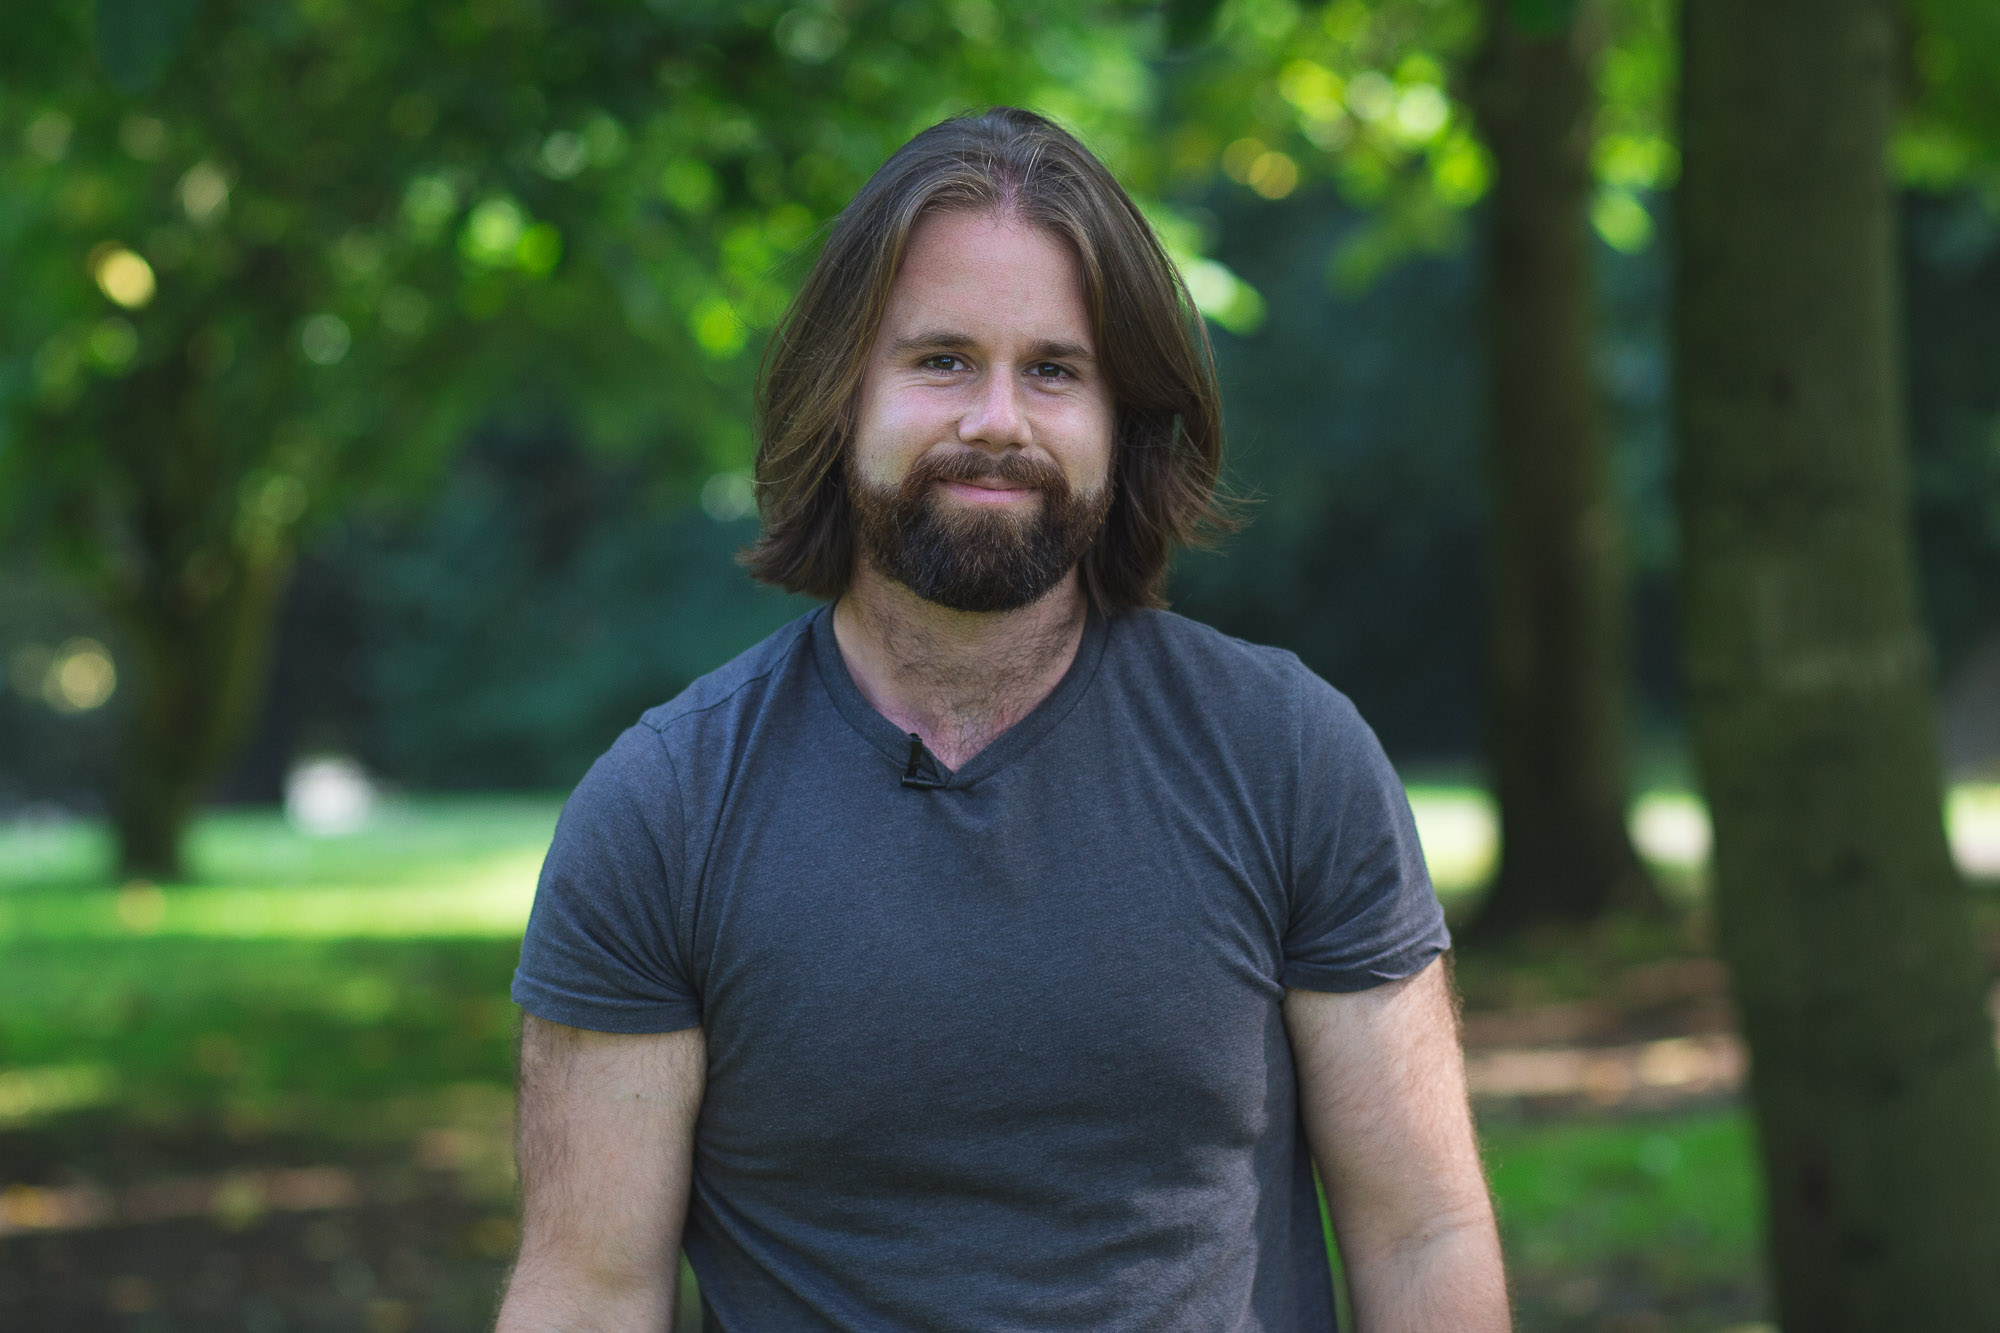
Wide-lean on lenses (18mm, for good example) give a wider field, which makes it easier to conform to the surroundings into your frame. They also have a greater deepness of landing field, meaning that objects thither are close and those that are further away are more than likely to be sharp at the equivalent time. The opposite is literal the longer your focal distance. Telephoto lenses (~70mm and raised) have a fordable depth of field, which isolates subjects and flattens features.
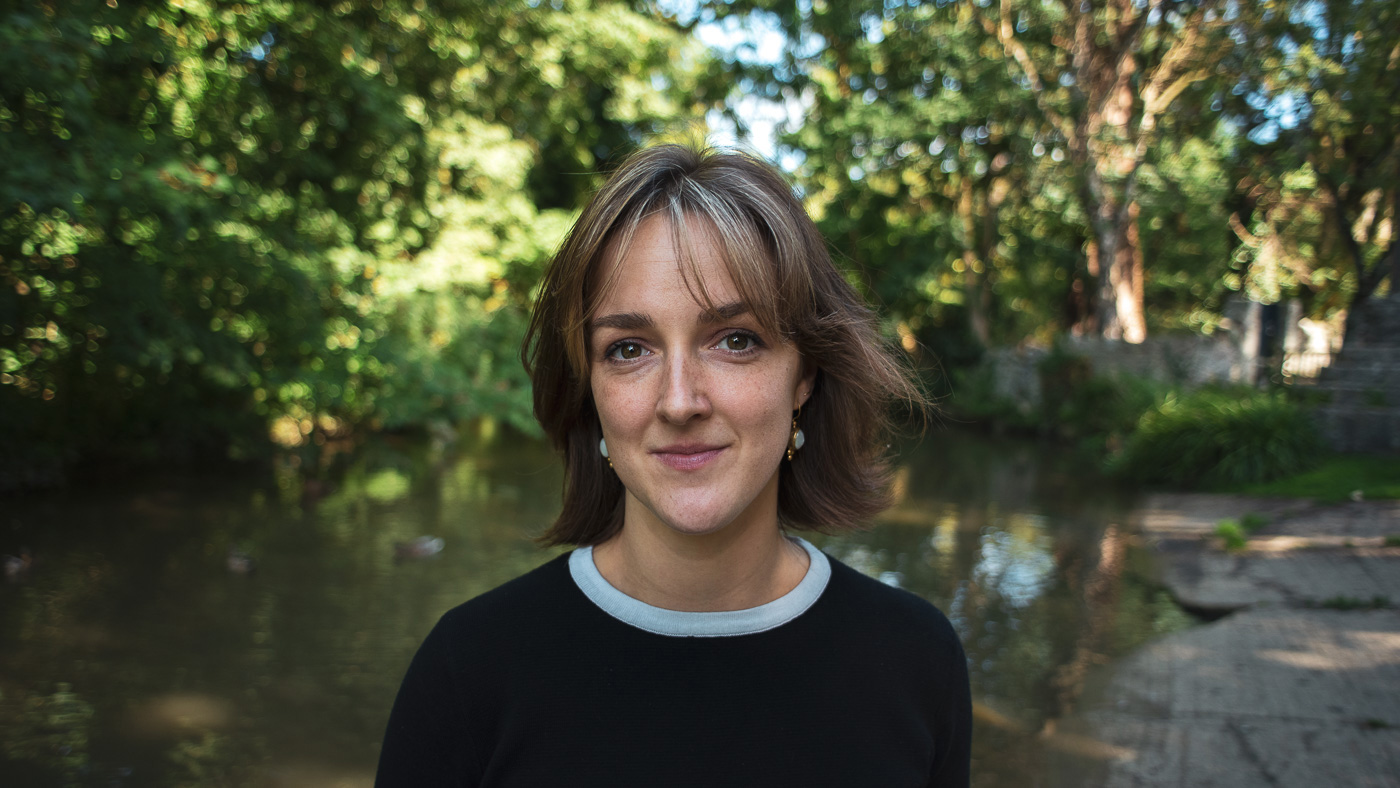
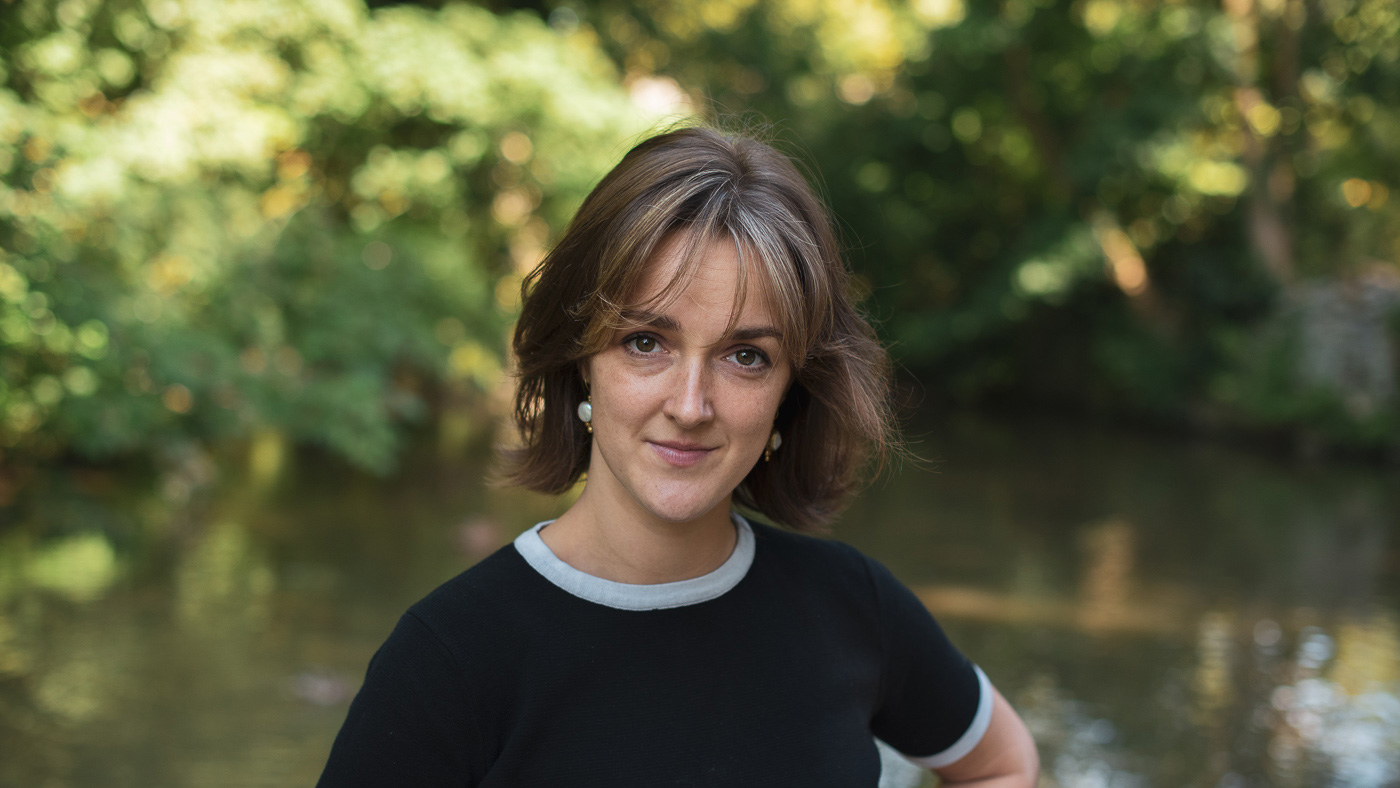
In the gallery above you can see how focal duration affects a individual's features due to perspectival optical aberration (economic consumption the arrows to click finished the examples). Each time we conk out longer with the focal length, we have to step back further away to keep the person taking up the same amount of space in the frame. Notice how facial features appear blandish as the focal distance goes up.
The wider the aperture, the harder it is to purpose the thin passing through it in order to make sure things are sharp. Complete the colours from red to blue will firmness at distinguishable distances unless just about clever optical engineering and coatings are used. That's wherefore f/1.4 lenses are unremarkably much dearly-won than f/1.8 lenses – they're harder to make sharp when wide open.
That's hard enough for prime lenses (fixed focal distance) but add in a zoom range and the price can climb down even more ascribable the requirement for more glass and harder optical problems to solve. That's wherefore cheaper zoom lenses will often have a variable aperture pasture such as f/4.5-5.6 with the aperture becoming narrower as you zoom in. It's limiting because the more you rapid growth, the less scant passes through the lens. This forces you to set shutter speed operating theatre ISO, and it affects profundity of field, simply it's a small grant to spend a penny if you're on a budget since zoom lenses with uninterrupted apertures are oft expensive.
Portrait photography tips: Camera settings
If the beginner portrait photographer's best Quaker is aperture, the enemy is shutter speed. Aperture controls our depth of field (how much of the setting is in focus). An aperture of f/16 will make almost everything sharp from foreground to background, whereas an aperture of f/1.4 means only a petite slice will follow sharp, with the rest falling into a creamy blur.
There's no right or base way to wont aperture. If the close environment is as all-important A the subject, a-ok nail down (f/8, f/11, f/16). Along the other hand, if your depicted object is the almost important thing, or if the background is distracting or ugly, and so exercise a wide aperture (f/1.4, f/2.8, f/3.2).

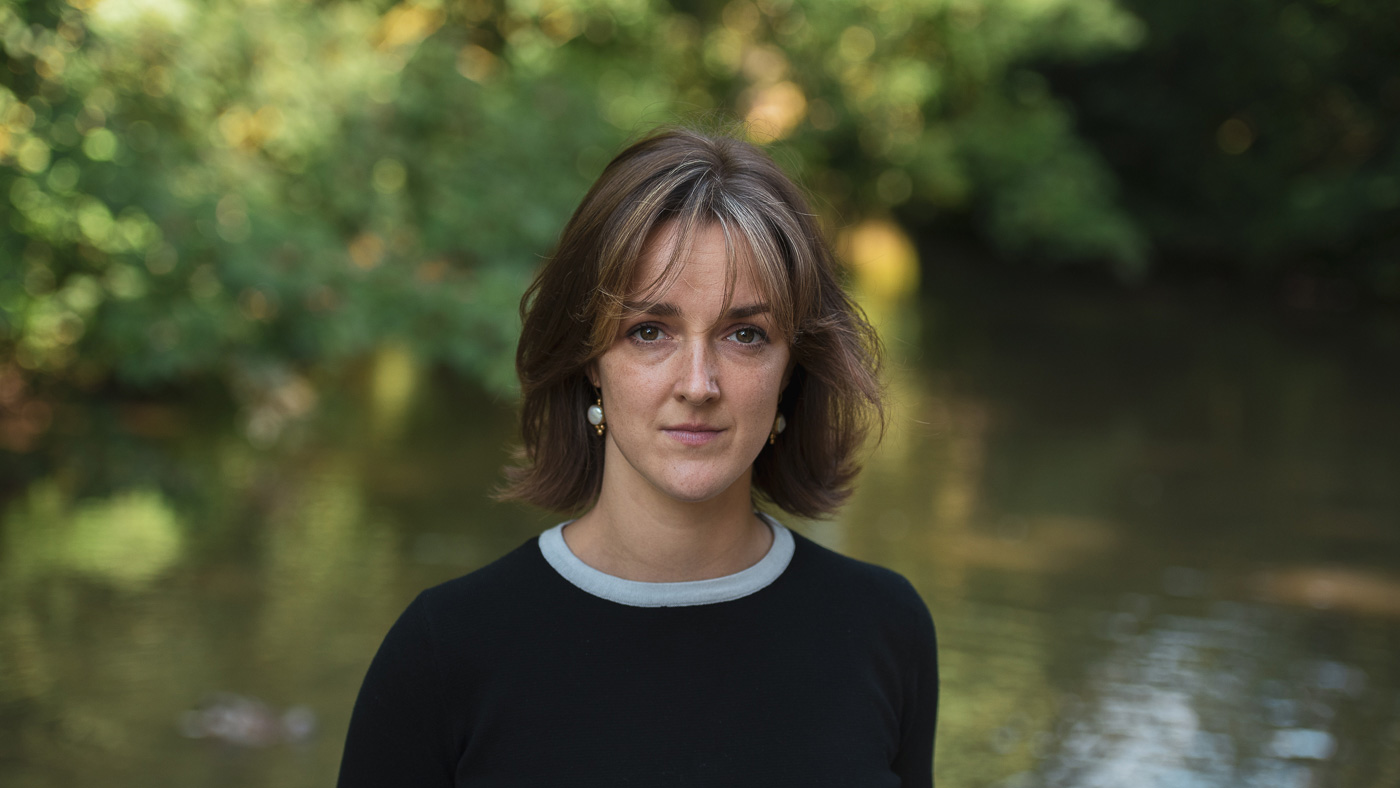
The verandah above shows four examples of how aperture changes the depth of arena in a portraiture photo. All of these were taken along a Nikkor 50mm f/1.4G (get through along the arrows to gyre though). You'll see that tapering the aperture from f/1.4 to f/16 extends the profundity of field and then the background is much clearly rendered.
Shutter speed determines whether motion appears bleary operating theater not. A expedited shutter belt along (1/1000 sec) is indeed short that even moving subjects are frozen still, whereas a slow shutter speed (1/10 sec) will incur some blurring if either the camera or the subject moves. The camera's shutter travel rapidly has to be fast enough not to blur your subject, so keep the total the same as the focal length of your Lens.
E.g.: 50mm lens = 1/50 sec, 200mm lens = 1/200 sec. Use this to guide you, but know that it's a flexible rule. As extended as things are steady you could decline to 1/20 sec while hand holding a 50mm lens without suffering any blur.
Finally, you should set ISO accordingly systematic to expose your image enough to get a clear view of your susceptible. Modern DSLRs and mirrorless cameras can handle high ISO noise quite well, so you shouldn't fret over how high your ISO is getting. Withal, Eastern Samoa a guideline, know that at above ISO1000, entry-level cameras will pop out to struggle. For more tips on camera settings see our photography cuckold sheet.
Read more:
- How to use picture taking in design
- The superfine tv camera for wildlife photography
- The 16 best photography websites
Jason Parnell-Brookes is an Internationally award-winning lensman, educator and writer. He won Gold in the Nikon Photo Contest 2022/19 and was named Extremity Lensman of the Year in 2022. Jason is a qualified teacher, Masters calibrate and plant with many high profile international clients.
Cognate articles
Source: https://www.creativebloq.com/how-to/portrait-photography-tips
Posted by: lukequeleandon1970.blogspot.com
0 Response to "Portrait photography: How to capture perfect portraits - lukequeleandon1970"
Post a Comment